A new outdoor living area doesn’t have to be a months-long saga, but it isn’t a same-day project either. The timeline for a patio with paver stones depends on planning, access, excavation, and base preparation, as well as the pace of setting and cutting pavers, and final compaction and curing. Most homeowners are surprised that the “beautiful surface” is actually the quickest stage; it’s the groundwork that protects your investment and sets the proper schedule. Below, you’ll find realistic timeframes, factors that speed things up or slow them down, and how to set expectations so you can enjoy your space on time.
What a Patio With Paver Stones “Installation Time” Really Looks Like
When contractors quote time for their services, they’re talking about active jobsite days plus any required curing periods. A simple patio with paver stones might span several consecutive days, while a feature-rich design can take a full week or more. Weather, inspections, and material lead times can add calendar days that don’t always involve on-site work. Understanding which days are “hands-on” versus “waiting” helps you plan furniture deliveries, landscaping, and gatherings.
Patio With Paver Stones Timeline at a Glance
For a straightforward space with good access and no major grading, many crews can complete the active on-site work in several days, then return for final checks after sand curing. Complex layouts, built-in seating, steps, or drainage upgrades extend the schedule, but each added step pays off in durability and polish.
Site Size and Access
Tight side yards, long wheelbarrow hauls, or limited vehicle access slow excavation and base installation. Easy access can shave meaningful hours each day.
Design Complexity and Pattern
Borders, herringbone or circular inlays, lighting, and steps require precise cutting and set-up. Intricate patterns add craftsmanship—and time.
Starts With Planning and Permits for a Patio With Paver Stones
Before anyone breaks ground, there’s design selection, measurements, and utility checks. Some municipalities require permits for hardscape projects over a certain size or when altering drainage. If an HOA reviews exterior work, build that into your calendar. Solid planning compresses on-site time because your crew arrives ready, not guessing.
Measurements and Utility Checks
Accurate dimensions, slope targets, and marked utilities prevent mid-project surprises. Confirming these details up front keeps the field work moving.
Permits or HOA Approvals
If approvals are needed, submit early. A clear, documented plan can cut review time and eliminate avoidable rework once crews mobilize.
Patio With Paver Stones Requires Proper Site Prep
Excavation and base preparation anchor the schedule. Crews remove soil to allow for base thickness and paver height, then compact in lifts to create a stable foundation. Rushed base work is the number-one reason patios settle unevenly, so expect your team to spend most of the project here. Good prep also includes shaping the subgrade for correct drainage away from your home.
Excavation and Haul-Away
Dig-out speed depends on soil type, roots, rock, and access for equipment or dumpsters. Hauling spoils offsite can add trips that expand the day.
Base Layers and Compaction
Multiple layers of aggregate, each compacted thoroughly, build a rigid platform. Expect frequent passes with a plate compactor and moisture checks for optimal density.
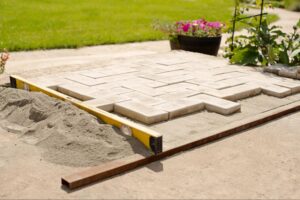
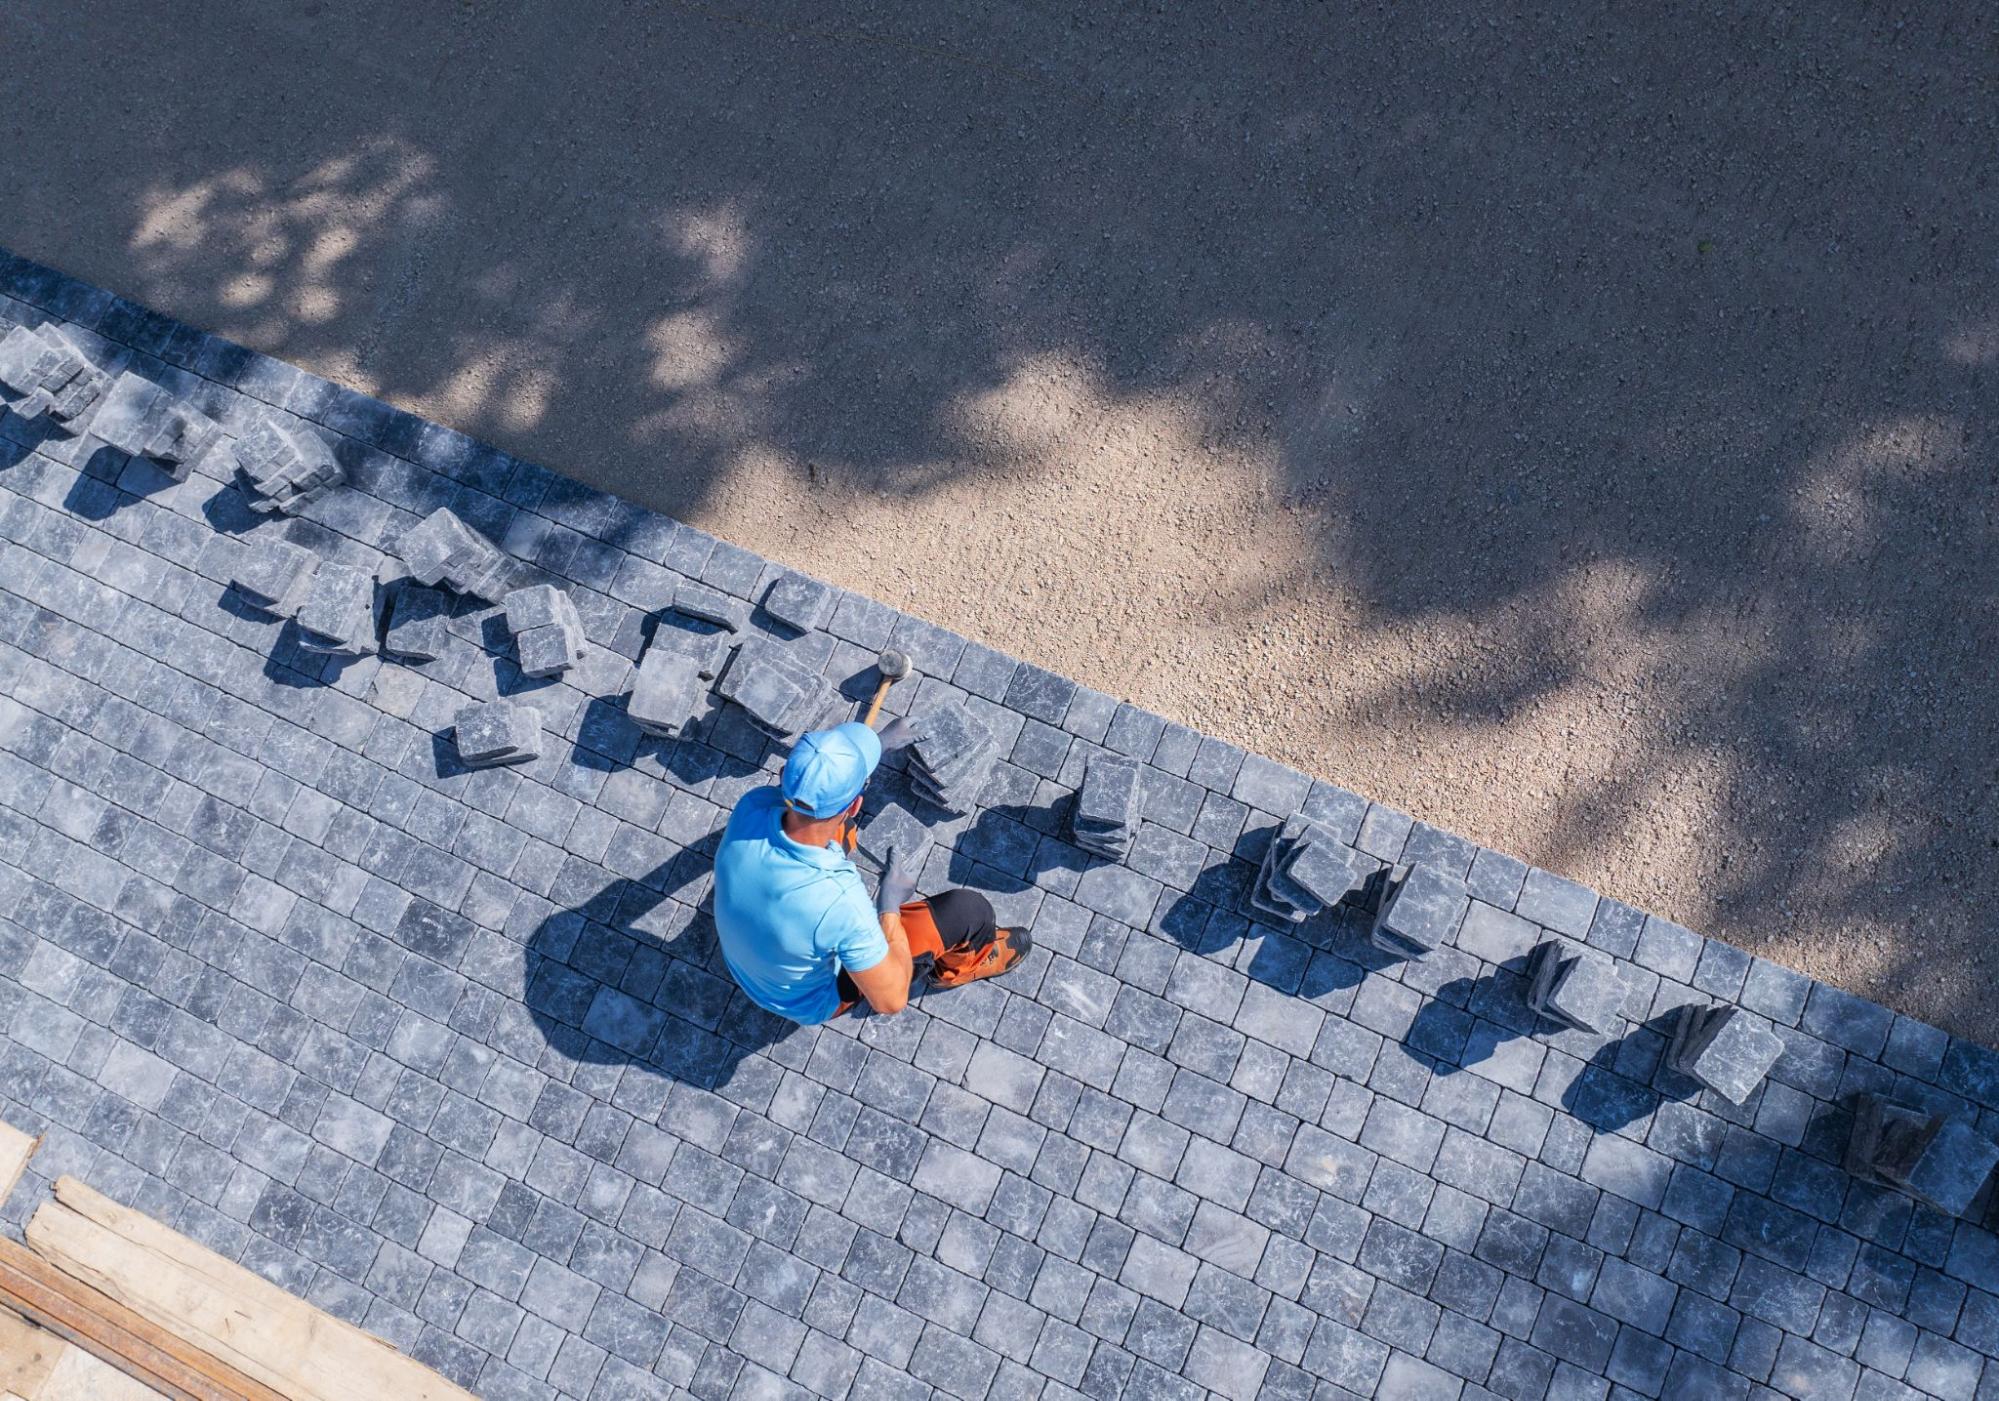
Laying and Cutting Paver Stones for a Patio
Once the base is perfected, paver laying often moves quickly. Crews screed bedding material, set stones, and make precision cuts around edges, posts, or steps. Border courses are typically installed and secured so patterns stay true. The more symmetry and alignment your design demands, the more time the team invests in keeping lines crisp.
Pattern, Borders, and Inlays
Running bonds or stacked lines move faster than multi-directional patterns. Decorative borders and medallions add standout style and deliberate pacing.
Edge Restraints and Steps
Edge restraints lock the field in place, while steps and elevation changes require careful anchoring. These details protect the patio from migration.
Patio With Paver Stones Needs Drainage, Sand, and Final Compaction
After laying, crews sweep in joint sand—often polymeric—to interlock the stones and resist weeds. The surface is compacted again to seat pavers and settle sand into joints. Proper watering and curing time are essential; rushing this stage can disturb joints and dull the finish. Your team may return after curing to inspect, top off joints if needed, and clean the surface.
Polymeric Sand Curing
Humidity, temperature, and shade affect the set time. Keeping foot traffic light during the initial cure preserves joint integrity and appearance.
Final Plate Compaction
A last pass tightens everything into a unified surface. This step enhances long-term stability and the solid underfoot feel you want.
The Role of Weather, Seasonality, and Lead Times in Patio With Paver Stones
Hardscape is sensitive to weather. Rain can halt excavation, delay compaction, or wash out joint sand, while freezing conditions limit base performance and curing. Peak seasons may extend start dates due to contractor backlogs or material lead times. If your deadline is firm, book early and discuss a weather contingency plan so rescheduling is straightforward and stress-free.
Patio With Paver Stones: DIY Weekend or Pro Crew
Ambitious DIYers can complete a small patio over several weekends, but expect the project to span more calendar time because tasks happen sequentially instead of in parallel. Professional crews compress the schedule with experience, specialized tools, and enough hands to excavate, haul, and lay efficiently. If your site needs drainage work, grade corrections, or saw-heavy patterns, hiring out usually shortens the path to a flawless result.
When a Weekend Project Works
Simple shapes, easy access, and forgiving patterns make DIY realistic. Renting compactors and saws reduces strain and rework.
When To Call a Crew
Challenging soils, complex borders, steps, or tight deadlines benefit from a team’s speed and quality control. Pros also handle disposal and logistics.
Patio With Paver Stones Aftercare and When You Can Use It
Light foot traffic is typically fine soon after final compaction, but wait for joint sand to cure before heavy use. Avoid dragging furniture during the first day or two, and set down chair feet rather than sliding them. If you plan to seal the surface, follow product guidance on cure times for both the sand and the pavers. A thoughtful first week ensures your patio looks sharp for years.
Sample Schedules For Common Patio With Paver Stones Sizes
While every property is unique, sample timelines help set expectations. A small rectangle near a driveway with strong access may have a quick turnaround, while a larger build with steps and borders is designed to take longer. Use these as conversation starters with your contractor, not as one-size-fits-all promises.
200–300 Square Feet, Simple Layout
Plan for a few active days: excavation and base, laying and cuts, followed by sand, compaction, and curing. Weather or access can stretch the calendar.
400–600 Square Feet, Features Included
Add time for steps, borders, and drainage improvements. Expect additional saw work and extra compaction passes to lock in the larger field.
Plan Ahead for Your Patio With Paver Stones Project
A well-planned patio is measured in days and meaningful details, not guesswork. Most projects move quickly once the base is built right, and the extra attention paid to compaction and drainage is time well spent. If you’re working toward a specific event, share your date upfront and build in a small buffer for weather. With the proper prep and a realistic plan, you’ll be clinking glasses on your new surface right on schedule.
Visit our Tucano Stones & Pavers, LLC blog to learn more about the expected timelines for pavers with patio stones.
Hours Of Operation
Monday - Saturday
8AM - 6PM